Related Queries
ToggleQuick Answer — What Do Ant Eggs Look Like?
You want a straight, no‑nonsense picture in your head before you start searching. Ant eggs are tiny, oval to slightly elongated, smooth, and pale—usually white, off‑white, or translucent. They’re soft and delicate, often seen in neat clusters because workers keep them together and move them as one bundle. If what you’re looking at seems like grains of coarse sugar or tiny pearls that don’t have legs, you’re probably staring at ant eggs or, very commonly, the next stage (larvae or pupae) that people mistake for eggs.
Shape, size, and colour at a glance
Eggs sit at the very start of the life cycle. They’re smooth, oval capsules, typically smaller than a millimetre to around a millimetre or two depending on species; to the naked eye they appear as minute white or translucent specks. Because they’re so small and pale, you’ll often see a glossy sheen under a torch.
Fresh eggs vs. older eggs
Fresh eggs tend to look more translucent and glassy. As they age and develop, they can appear slightly more opaque or creamy. If you’re looking at a mix of tones in the cluster—some glossier, some creamier—that’s normal. It often just means you’re seeing different developmental ages in the same pile.
Egg vs. larvae vs. pupae (rapid ID)
Eggs are the tiniest, smooth ovals and don’t move on their own. Larvae look like tiny white grubs with no legs and a curved, segmented body. Pupae can look like “rice grains” and, in some species, sit inside a silk‑like cocoon that people frequently mislabel as eggs. If you can make out a grub shape, it’s not an egg. If it looks like a slightly larger capsule with features forming, that’s pupa.
Up‑Close Identification Guide
Before you take action, it helps to know exactly what you’re seeing. A closer look—plus a quick size check—can stop you from chasing the wrong problem and help you target the nest properly.
Typical size range and how to measure at home
Most ant eggs you’ll find indoors are under a millimetre long, sometimes near the 0.5 mm mark, though some species reach a little larger. For a rough check, compare against a mechanical pencil tip (0.5–0.7 mm) or the thickness of a credit‑card edge (~0.76 mm). You’re assessing “specks,” not seeds.
Common colours (white, cream, translucent) and what they mean
Eggs appear white to translucent. A creamy or slightly opaque look can reflect development and species differences; translucency is common in freshly laid eggs. Don’t rely on colour alone—use colour plus size and texture.
Texture and sheen (gel‑like, smooth, slightly sticky)
Close‑up, eggs look smooth and delicate, sometimes with a glossy, gel‑like sheen. Workers groom them, and that care keeps the surface clean and can make them appear slightly sticky, which is why they cluster neatly.
Cluster patterns you’ll actually see in nests
Expect tight clusters tucked into sheltered cavities. Workers routinely pick up entire bundles and shuttle them to safer, warmer, or drier spots. If you’ve disturbed a void and see a concentrated pile rather than scattered bits, you’ve probably hit the nursery.
Where You’ll Find Them Indoors
Ants hide eggs in places that feel safe, warm, and stable. You’ll usually discover them by following trails or when you open up a concealed void.
Skirting boards, floor voids, and behind appliances
Check gaps under skirting, hollow wall spaces, and warm zones behind dishwashers, cookers, or fridges. You may see workers carrying bundles if you’ve just disturbed the site. Look along cable entry points and pipe runs where tiny cracks offer a sheltered route.
Under carpets, rugs, and door thresholds
Edges with persistent crumbs or moisture create cosy micro‑sites. Lift a rug corner, look along the threshold strip, and run a thin torch beam to catch that pale, glossy cluster. If pets eat nearby, check under feeding mats and skirting where stray kibble rolls.
Where Ants Stash Eggs Outdoors
Outside, the nest architecture changes, but the logic doesn’t: protection, warmth, and steady humidity come first.
Soil nests, patios, and paving gaps
In soil, eggs sit deeper in chambers. Around homes, colonies love the stable micro‑climate under patio slabs and in tight paving gaps—close to warmth and often close to kitchen walls. If you notice frequent ant traffic emerging from slab joints, that’s a strong clue.
Under stones, logs, and garden edging
Flip a stone or timber edging on a mild day and you might expose a nursery: a dense cluster of pale ovals plus frantic workers rescuing them. Replace the cover if you’re not ready to treat so you can plan without scattering the colony.
Seasonal moves: why colonies relocate egg clusters
When conditions swing (cold snaps, heat spikes, heavy rain), workers shuttle egg bundles to more stable pockets. This relocation is normal colony behaviour and one reason eggs can “disappear” between checks. Expect movement during spring build‑up and midsummer heat.
Don’t Confuse These — Look‑Alikes
Plenty of small, pale things in a house or garden can fool you. A quick comparison saves time and prevents the wrong response.
Termite eggs vs. ant eggs (key differences)
Termite eggs tend to be smaller, more uniformly spherical, and they sit in “carton” or soil‑lined nursery chambers. Ant eggs are a touch larger and oval, and you’ll find them in cleaner chambers without the mud matrix. In the UK, termites are far less likely than ants in typical domestic settings.
Wood‑boring beetle frass and other debris
Powdery wood dust (frass) from beetles can look like pale grains, but it’s dry, crumbly, and widespread near exit holes or along skirting. Eggs, by contrast, appear smooth, slightly glossy, and neatly clustered. If you touch frass, it collapses like dust; eggs retain their shape.
Maggots and fly eggs in damp spots
Fly eggs and maggots show up around bins, drains, or damp organic residues. Maggots move; ant eggs don’t. If there’s movement and a smell, you’re not looking at an ant nursery. Check bin seals, drain covers, and mop heads.
Ant Life Cycle in Plain English
Seeing eggs tells you you’re at the heart of colony growth. Understanding the stages helps you decide what to do next without wasting effort.
From egg to adult: the four stages
Ants go through complete metamorphosis: egg → larva → pupa → adult. Eggs hatch into legless, grub‑like larvae. Larvae then pupate, sometimes inside small cocoons, then adults emerge as workers, males, or new queens. That journey from egg to worker depends on temperature, food, and species.
Worker care: grooming, carrying, and temperature control
Workers constantly groom and carry eggs to regulate temperature and humidity, moving them deeper or shallower in the nest as needed. That’s why you may see frantic relocation when you lift a board or skirting. Their goal is stability, so they rescue the nursery first.
How colony needs influence egg production
The queen lays according to the colony’s needs—food flow, season, and stability all play a part. Strong food sources can drive growth; disruptions can slow or shift investment into different castes. If a colony finds steady sugar and protein, expect more brood.
Signs You’ve Found a Breeding Hotspot
If you’ve reached eggs, you’re in a key part of the nest. A few tell‑tales help confirm it so you can act with confidence.
Trails leading to concealed egg chambers
Watch outgoing trails and look for a “hub” where traffic thickens near a crack or service gap. That pinch‑point often hides nursery chambers beyond the plaster or under flooring. A light puff of talc can reveal footprints and show the true route.
Warm, humid micro‑climates (lofts, boiler cupboards)
Eggs need stable warmth and humidity. Lofts above kitchens, boiler cupboards, and dishwasher voids offer perfect micro‑climates, especially in older properties with small leaks. A basic hygrometer can confirm consistently higher moisture in these spaces.
Sudden bursts of activity after cleaning
A deep clean that shifts appliances or lifts a rug can expose a chamber. If you suddenly see workers carrying pale bundles, you’ve triggered a defensive relocation—strong evidence of eggs or larvae nearby. Mark the spot before you tidy further.
What To Do If You Find Ant Eggs
When you find eggs, act with care. Your goal is to break the colony cycle without spreading fragments to new sites.
Safe pick‑up and disposal (bag, freeze, bin)
If you’re dealing with a small, accessible cluster and no wider activity, you can gently lift the bundle with a piece of card into a sealable bag, freeze for 24 hours, then dispose. Avoid squashing on surfaces—it can attract further scavenging and leave scent marks.
Targeted cleaning that doesn’t spread the colony
Vacuum along edges using a crevice tool, then empty the canister into a sealed bag. Follow with a mild detergent wipe to remove pheromone residues, as trails help workers regroup. Don’t drench with harsh chemicals; you’ll push ants to split nests and establish offshoots.
When to leave nests undisturbed (and why)
If you can’t treat the parent nest, disturbing the nursery may drive budding (new satellite pockets) and make control harder. In that case, mark the location and pivot to baiting so workers carry the active ingredient back to the queen.
DIY Control That Actually Helps
A smart, light‑touch approach usually beats random spraying. You want the colony to feed on a bait and collapse from within while you reduce what makes your space attractive.
Drying the area: dehumidify and ventilate
Lowering moisture reduces ideal nursery conditions. Run extraction in kitchens and bathrooms, fix minor leaks, and ventilate voids where possible. Ants prefer stable humidity for egg development; remove that and you blunt growth.
Precise bait placement based on egg locations
Place slow‑acting gel or bait stations along active trails leading to the nursery, not directly on eggs. The aim is worker uptake and transfer. Re‑site baits if traffic patterns shift after cleaning. Where trails split, place small amounts in several spots rather than one big dab. Add small placements where ants pause to feed, then let them work for you. If the nest is well‑established, pair this with a broader plan to get rid of an ant colony.
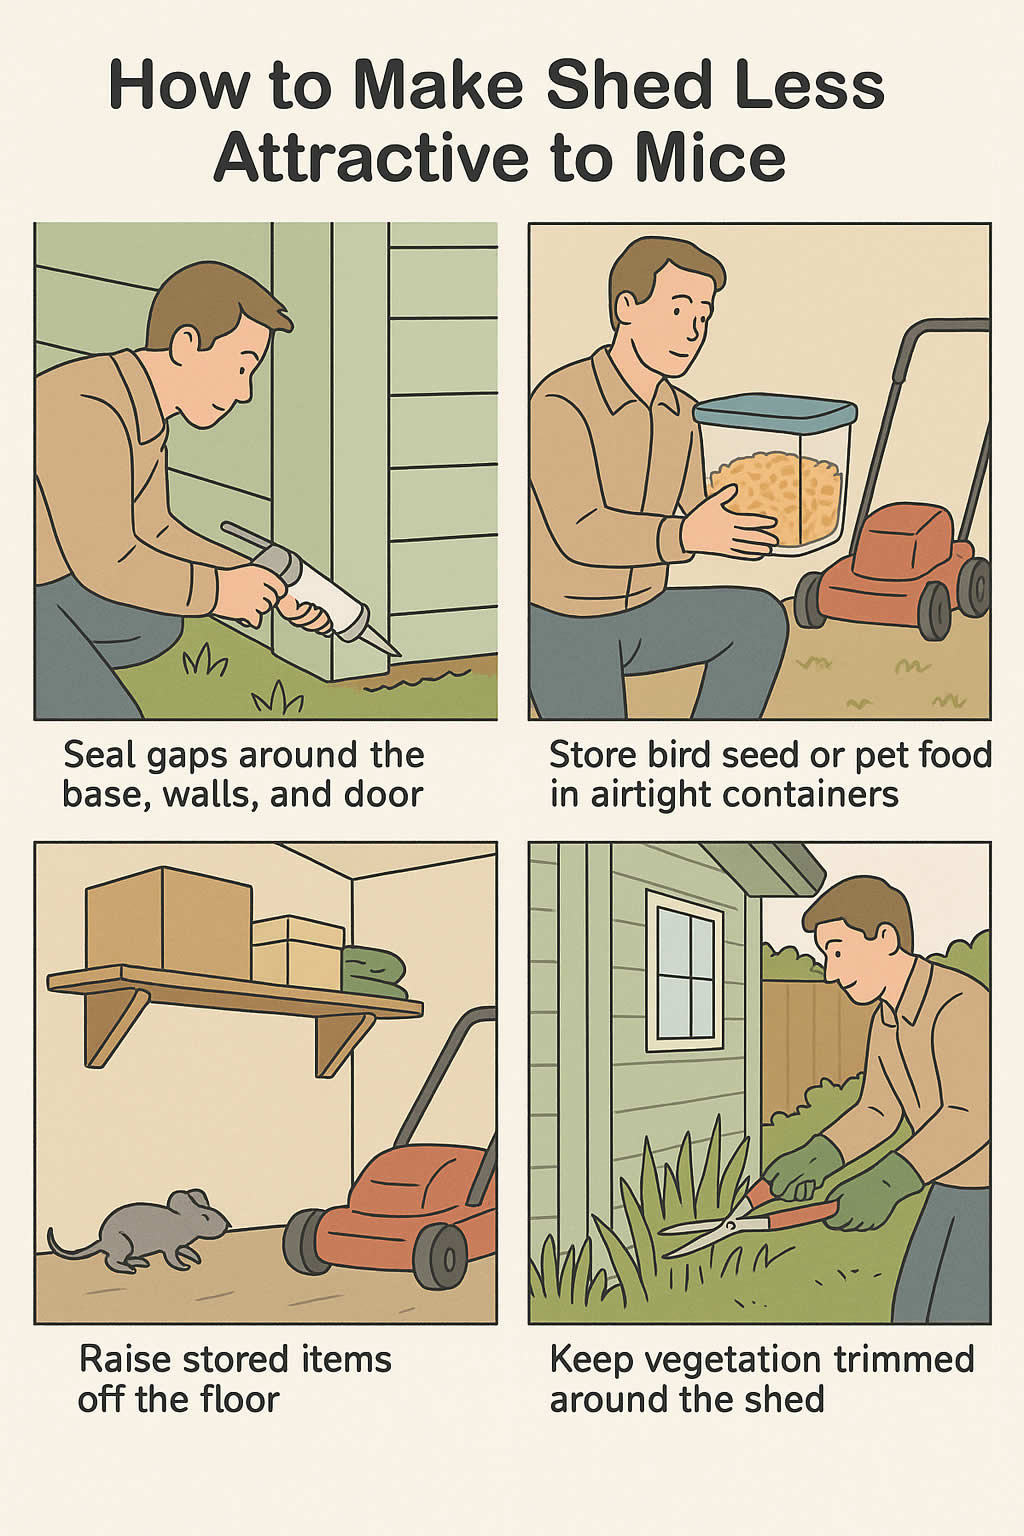
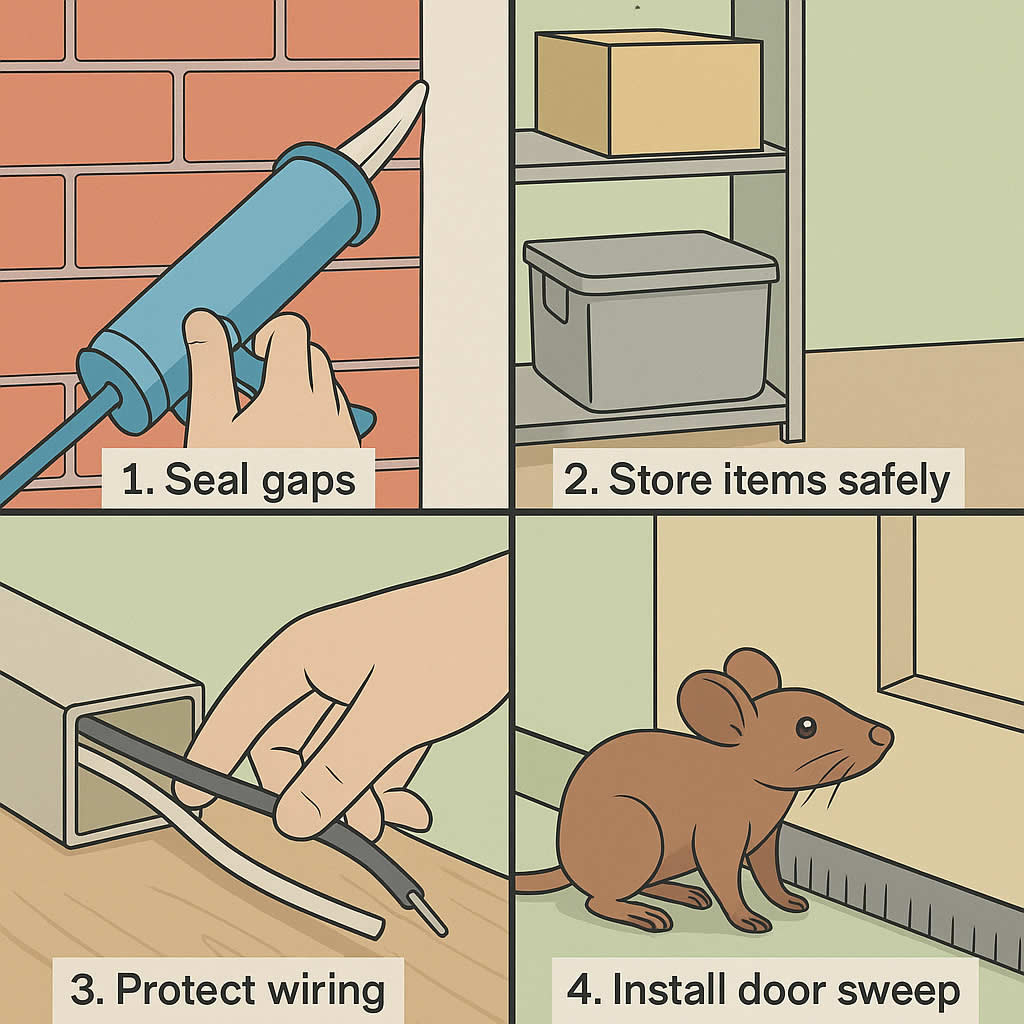
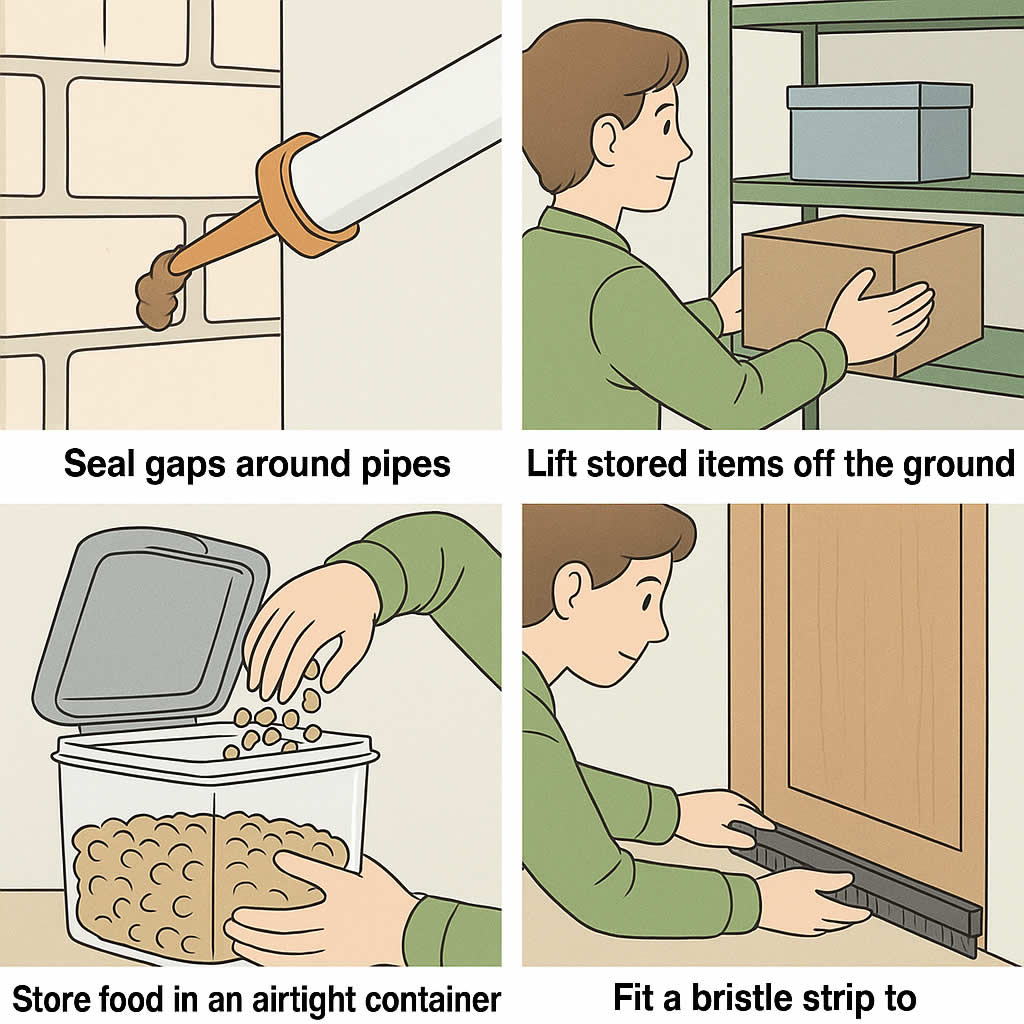
Sealing entry points after evidence is gone
Once trails drop off, seal gaps at skirting, pipe penetrations, and thresholds. Deal with the structure last; seal too early and you can trap a colony in or drive it deeper. A silicone or decorator’s caulk line along plinths can remove favourite runways.
Monitoring: simple traps to track progress
Use tiny dots of bait or card “checkpoints” along former trail lines. Fewer visits over 48–72 hours usually means the colony is fading. If activity rebounds, rotate bait type (sweet vs. protein) and reassess food competition such as pet bowls and open bins.
Prevention So Eggs Don’t Reappear
You’ll keep the upper hand with steady habits that make your home dull and difficult for ants. Consistency beats intensity here—small daily actions have a big cumulative effect.
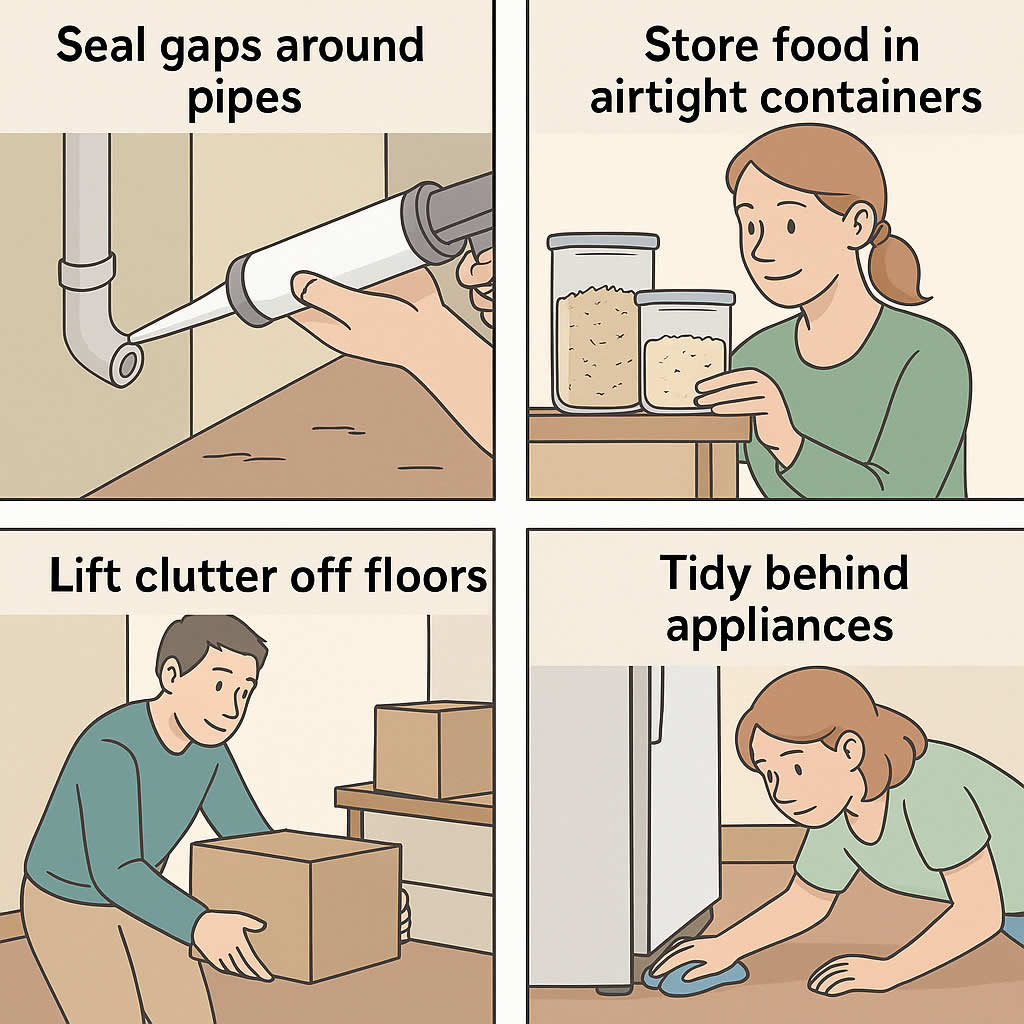
Food storage, crumbs, and nightly wipe‑downs
Store sugary foods airtight, clear pet bowls overnight, and wipe counters and plinth lines before bed. You want no easy calories to reward scouting. Pay extra attention to toaster trays, sticky jars, and the floor under highchairs. Pay attention to sweet residues and pet feeding areas, as they skew trail choices. To understand the triggers in more detail, see what attracts ants and how to get rid of them.
Fixing leaks and reducing indoor moisture
A slow drip under a sink can power an entire nursery. Repair weeps, insulate cold pipes to reduce condensation, and empty under‑appliance trays. Less moisture equals fewer stable nurseries, fewer trails, and fewer follow‑on problems.
Garden maintenance that lowers nest pressure
Reduce heavy mulch against foundations, lift debris piles, and tidy edging. Outside pressure drives inside foraging; if the garden perimeter is less attractive, fewer trails will cross your threshold. Prune branches that bridge directly to windowsills. Consider container areas too—raised beds and pots can hide mini‑nests; here’s how to stop ants nesting in plant pots.
When To Call a Professional
There’s a point where DIY becomes a time sink. Knowing that point saves you weeks of frustration and prevents recurring breakouts.
Red flags that DIY won’t cut it
If you’ve found multiple nursery sites, can’t locate the parent nest, or keep seeing activity return after bait cycles, it’s time to bring in a pro. Structural moisture, complex voids, and wood‑nesting species can also push you past the DIY line.
What pros do differently (inspection + integrated control)
A professional inspection maps trails, identifies species, and targets the parent nest, not just satellite pockets. Expect a plan that mixes baits, dusts, or liquids with structural advice on moisture and access. That integrated approach collapses a colony and prevents re‑seeding.
Quick Visual Checklist (Use While Inspecting)
A simple tick‑list helps you decide fast. Keep it with your torch and crevice tool.
Colour ✔︎ Size ✔︎ Texture ✔︎ Cluster ✔︎ Location ✔︎
- Colour: White to off‑white or translucent—glossy under a torch.
- Size: Sub‑millimetre to about a millimetre+ depending on species; tiny, not seed‑sized.
- Texture: Smooth, delicate, sometimes slightly sticky from grooming.
- Cluster: Neatly bunched; workers carry eggs as a bundle and relocate when disturbed.
- Location: Hidden cavities indoors; soil, slab gaps, and sheltered voids outdoors. Follow trails to the hub.
Final Thought
You don’t need to become an entomologist to win this. If you can recognise eggs—tiny, pale, and clustered—and match that sighting to trail behaviour, you can choose smarter tactics. Dry out the micro‑climate, feed the workers the right bait, and close the easy gaps once activity fades. That way, you stop guessing and start steering the outcome—calmly, methodically, and with a plan that holds.