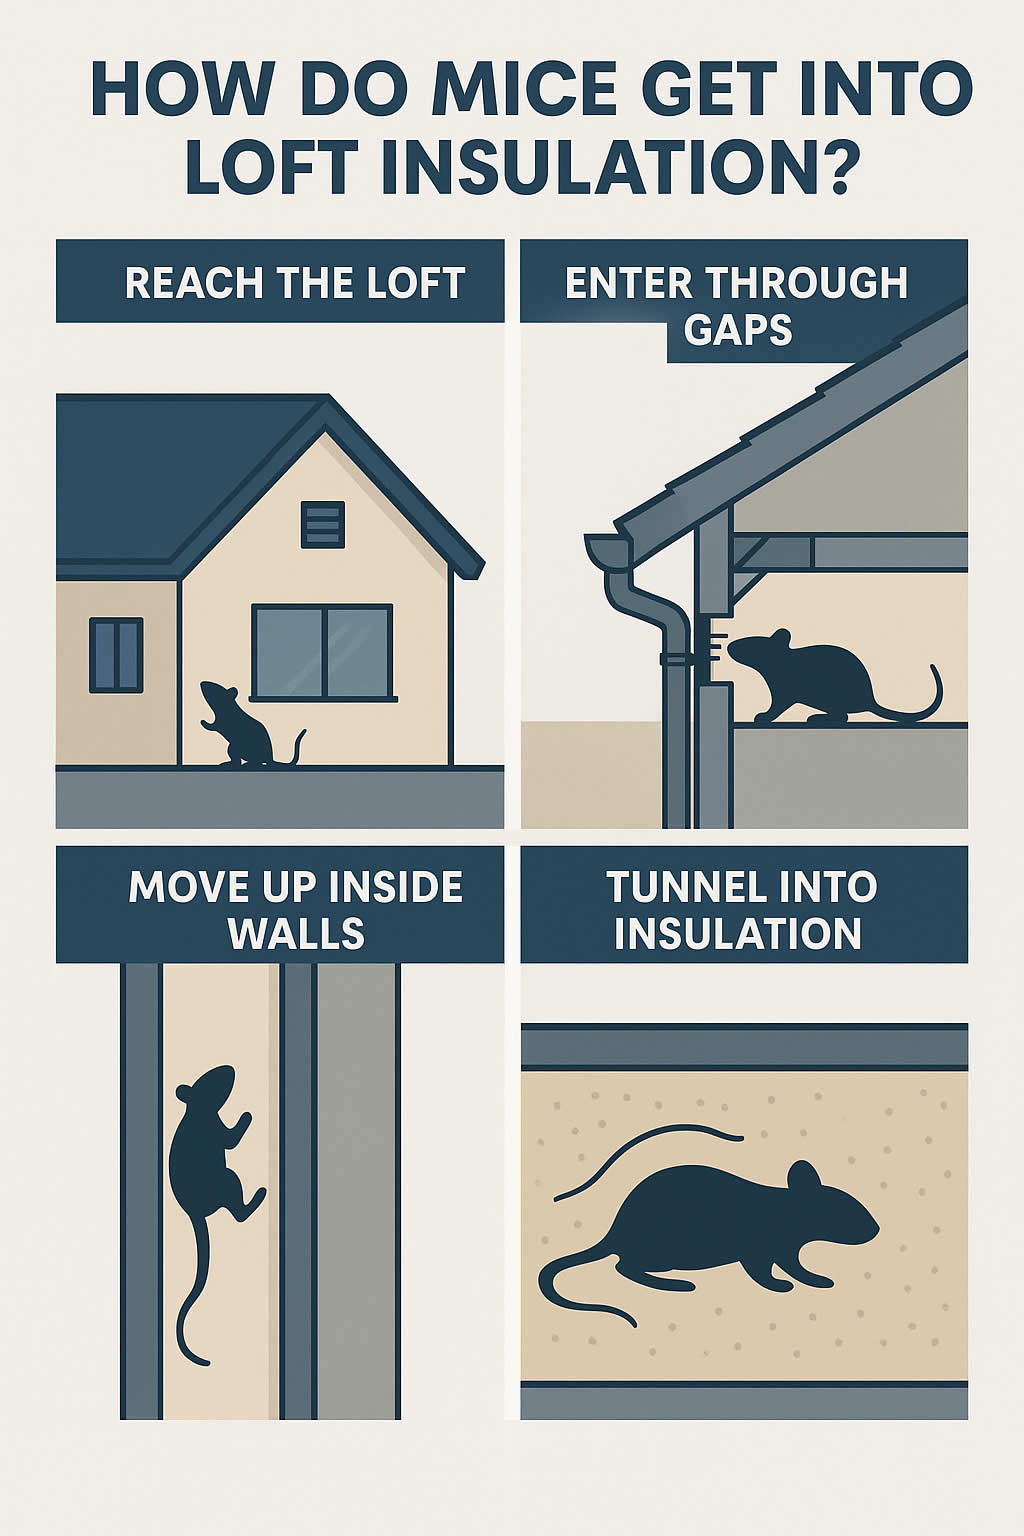
Related Queries
ToggleYou want a straight answer first so you can plan the next steps. In warm indoor conditions, ant eggs typically hatch into larvae in about one to two weeks. Cooler rooms stretch that to three or even four weeks, while sustained heat and steady humidity can shorten it.
The key variable isn’t the calendar; it’s the micro‑climate. Control warmth and moisture and you slow the pipeline from egg to worker.
Typical range in warm indoor conditions
At household temperatures (roughly 20–25°C), most species you’ll meet inside move from egg to larva in around 7–14 days. That’s the rule of thumb you can use to pace inspections and time bait placements.
How temperature and humidity shift the timeline
Warmth accelerates, dryness slows. High humidity protects delicate eggs, while dry air desiccates them and forces workers to relocate brood. If you make a space cooler and drier, you elongate the schedule and buy yourself control time.
Ant Life Cycle in Brief
Understanding the stages gives you leverage. Once you see where the colony sits on the timeline, you can match the right action to the right moment.
Egg → larva → pupa → adult
Eggs are tiny and smooth. Larvae look like small white grubs that demand protein. Pupae sit through transformation—some in small cocoons—before adults emerge as workers, males, or new queens. The journey speeds up with heat and food; it slows with cool, dry air.
Why brood “waves” affect what you see at home
Brood doesn’t develop one at a time; it moves in waves. When larvae peak, trails surge as workers hunt protein. When new workers emerge, you get a second spike in activity. Use those waves to schedule bait and verify progress.
Factors That Change Hatching Speed
You can tilt the odds. Adjust the environment and the life cycle bends in your favour.
Temperature bands and daily fluctuations
Consistent warmth gives steady development. Big day‑night swings create stress and push workers to shuttle eggs between chambers. That movement exposes weaknesses you can exploit with well‑placed bait.
Moisture levels and ventilation in voids
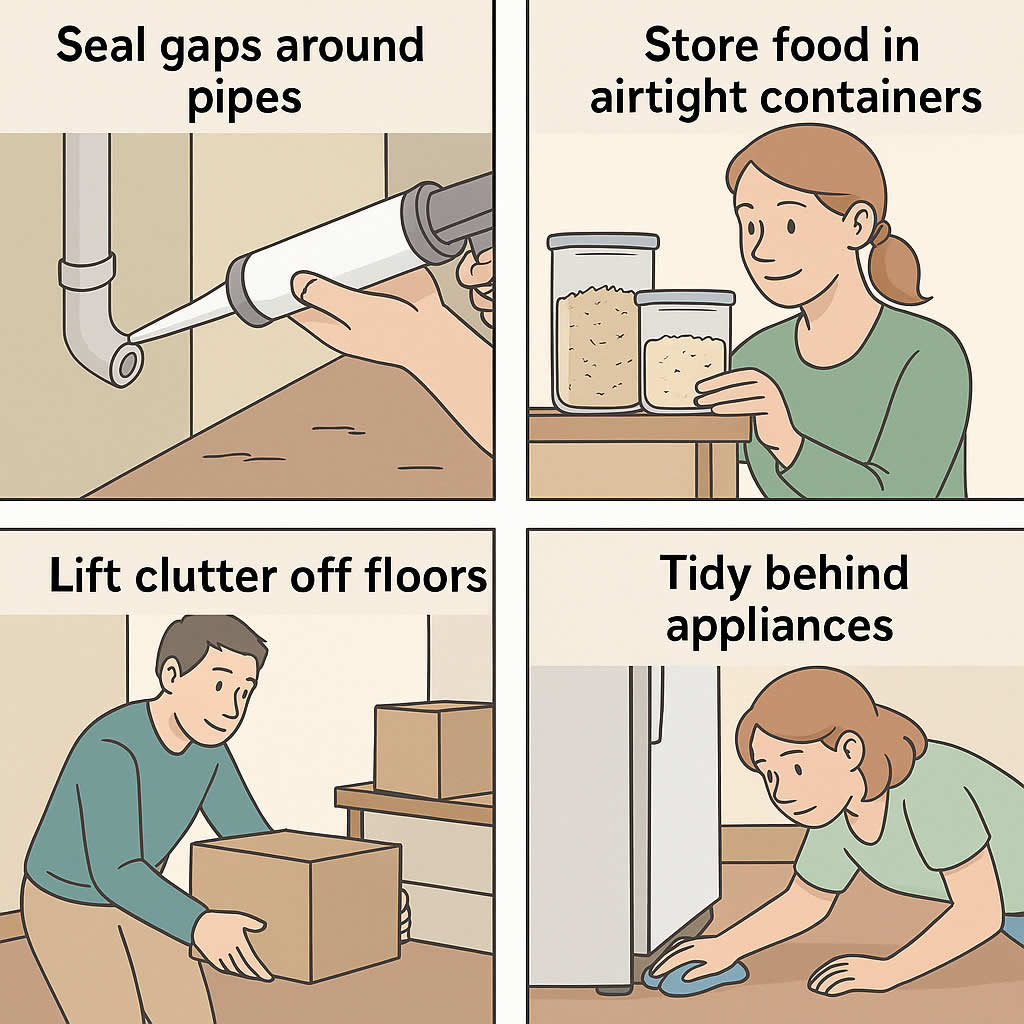
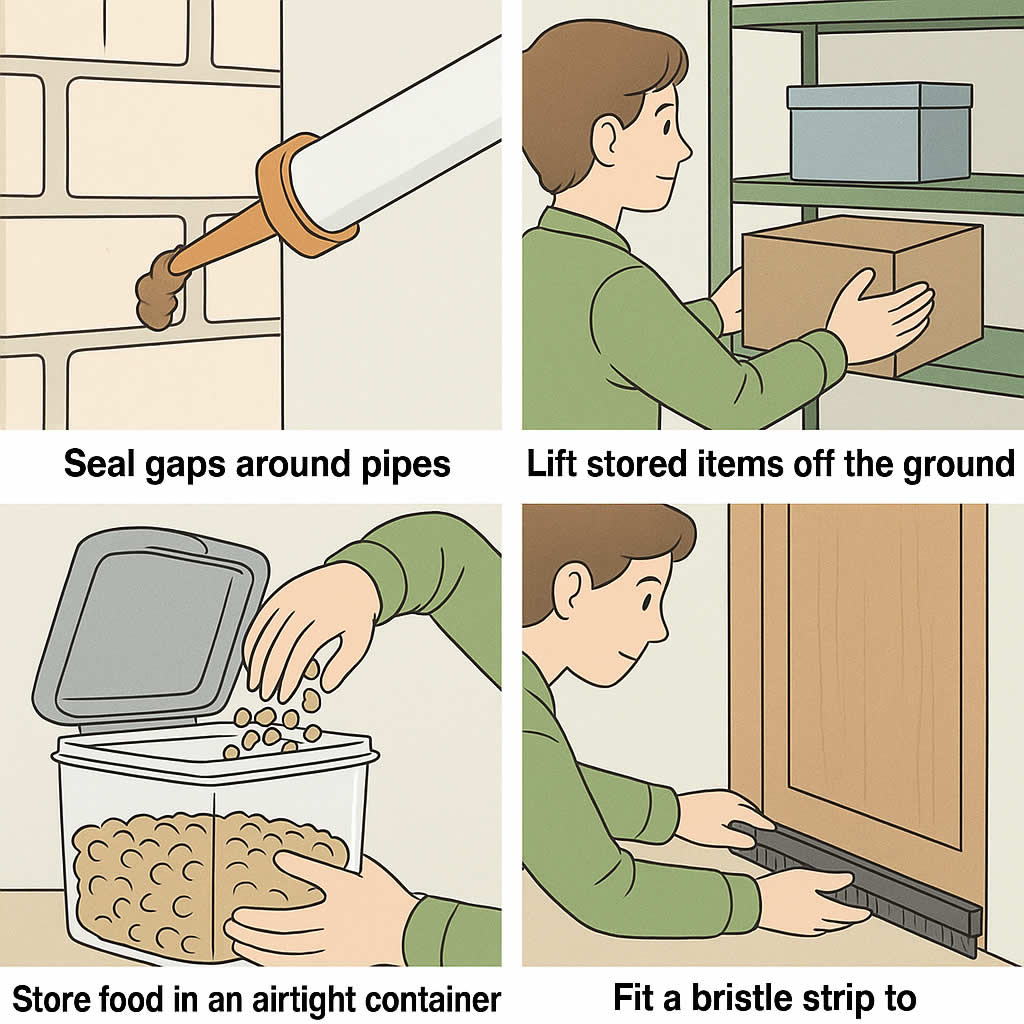
Eggs thrive in sheltered, slightly humid pockets. Increase airflow under units, ventilate boiler cupboards, and fix minor leaks. Drier voids slow hatch times and reduce brood survival.
Food availability and colony stress
Easy calories fuel growth. Remove crumbs, seal sweets, and clean under appliances and plinth lines. Starved colonies ration brood, and stressed colonies relocate, which opens windows for treatment.
Species & Nest Type Differences
Not all ants play the same game. Some build fast; some dig in and endure.
Small household ants vs. larger garden ants
Small household species usually ramp quickly in kitchens and bathrooms with steady warmth. Larger garden species track outdoor weather and often slow through cooler spells.
Single‑queen vs. multi‑queen colonies
A single queen caps output; several queens compound it. Multiple queens mean bigger broods and faster rebounds after disruption. If activity snaps back after you tidy up, consider a polygyne colony.
Indoor heated nests vs. outdoor soil nests
Indoor nests in heated voids maintain near‑constant development. Outdoor soil nests ride seasonal cycles and shift brood deeper or shallower with weather.
What Eggs Actually Look Like
A clear mental picture helps you avoid false alarms and wasted effort.
Size, shape, and colour cues
Eggs are minute, oval to slightly elongated, and pale—white, off‑white, or translucent. Under a torch they show a soft sheen. Think fine sugar grains clustered together rather than individual specks scattered around.
Eggs vs. larvae vs. pupae (fast ID)
Eggs: smooth ovals, no movement. Larvae: tiny legless grubs that curl. Pupae: “rice‑grain” capsules, sometimes in a silken cocoon. If you see features forming, you’ve moved past the egg stage.
Where You’ll Find Eggs Indoors
Follow the warmth, the calm, and the crumbs. That’s where nurseries appear.
Skirting gaps, floor voids, and behind appliances
Check where skirting meets flooring, the void behind dishwashers and fridges, and cable holes. A quick torch across the edge line often reveals a tidy cluster.
Loft spaces, boiler cupboards, and warm service runs
Lofts above kitchens, boiler cupboards, and pipe runs offer stable heat. If you disturb a panel and see frantic workers carrying pale bundles, you’ve exposed the nursery.
Outdoor Nursery Spots
Outside, the same logic applies: shelter plus moisture plus heat.
Soil chambers, paving gaps, and under stones
Eggs sit deeper when nights cool and closer to the surface when days warm. Paving gaps and slab edges provide stable micro‑climates right next to your foundations.
Seasonal relocations during heat, rain, or cold snaps
Colonies shuttle brood to balance temperature and humidity. Expect movement during heatwaves, heavy rain, or sudden chills. That’s your chance to intercept trails.
Signs Hatching Is Imminent
You can spot a hatch window if you watch closely.
Surge in foraging traffic (protein trips)
Larvae demand protein. When you see steady lines to pet food, bins, or oily residues, a larval peak is underway and eggs are hatching behind the scenes.
Workers shuttling bundles between chambers
Transporting tidy, pale bundles suggests eggs and larvae on the move to a warmer or drier pocket.
Fresh pupae and newly emerged workers
Finding pupae or light‑coloured, soft workers tells you a wave just matured. Time bait placements to catch the next one.
Common Mistakes When Timing Treatments
Avoid these and you’ll get traction fast.
Spraying too early and scattering the colony
Contact sprays smash trails but rarely touch the queen. You get short‑term relief and long‑term growth.
Sealing entry points before the decline
Seal too soon and you trap the colony indoors or force new satellite nests. Bait first, verify the drop, then seal.
Overcleaning trails before bait uptake
Heavy detergent wipes remove pheromone highways. Lightly clean after baiting, not before, so workers can still find placements.
How To Guide — Slow the Hatch, Shrink the Colony
Here’s the practical plan. Follow this and you’ll push the timeline out while the bait works within the nest.
Map two main trails and mark checkpoints
Pick two fixed points and count passes for 60 seconds—morning and evening. You’ll see whether things are getting better or worse without guesswork.
Place slow‑acting bait where ants pause (not on eggs)
Put small dots along edges, corners, and under appliances—spots where ants hesitate and feed. Keep placements fresh and undisturbed.
Reduce moisture around likely nursery sites
Ventilate steamy rooms, fix small leaks, and open airflow in closed voids. Cooler, drier pockets slow development and hatching.
Keep small, fresh placements for 3–7 days
Refresh gel as it dries. Several small placements beat one big blob. If traffic stalls, shift the bait 5–10 cm along the route.
Confirm decline, then seal cracks and edges
Once counts stay low for 48–72 hours, seal entry points, plinth lines, and pipe penetrations. Don’t lock them in until the decline holds.
DIY Treatment Calendar (By Stage)
Match your actions to what the brood needs right now.
Egg/early larva: moisture control and scouting
Focus on airflow and leak repairs while you map trails. Keep baits lightly present, but don’t expect fireworks yet.
Late larva: protein‑leaning baits and trail targeting
This is your big push. Larvae pull protein; workers deliver it. Offer attractive bait and track uptake.
Pupa/adult emergence: refresh bait and widen placements
As new workers appear, widen coverage to catch them early. Keep records so you can prove what works.
When To Call a Professional
Sometimes the structure and the species beat DIY. Calling in help saves time and prevents repeat outbreaks.
Multiple nursery hubs you can’t access
Several hotspots in walls, floors, or roof voids need specialised dusts and a mapped plan.
Rapid rebounds after DIY cycles
If trails collapse then return within weeks, you may be dealing with multiple queens or protected brood pockets.
Structural moisture or wood‑nesting activity
Wet timber and voids demand repair alongside treatment. That’s professional territory.
Prevention After Control
Stay consistent and you keep numbers down and hatch times slow.
Nightly wipe‑downs and airtight food storage
Clear counters, seal sugars, and lift pet bowls overnight. No easy calories means fewer foragers and fewer brood surges.
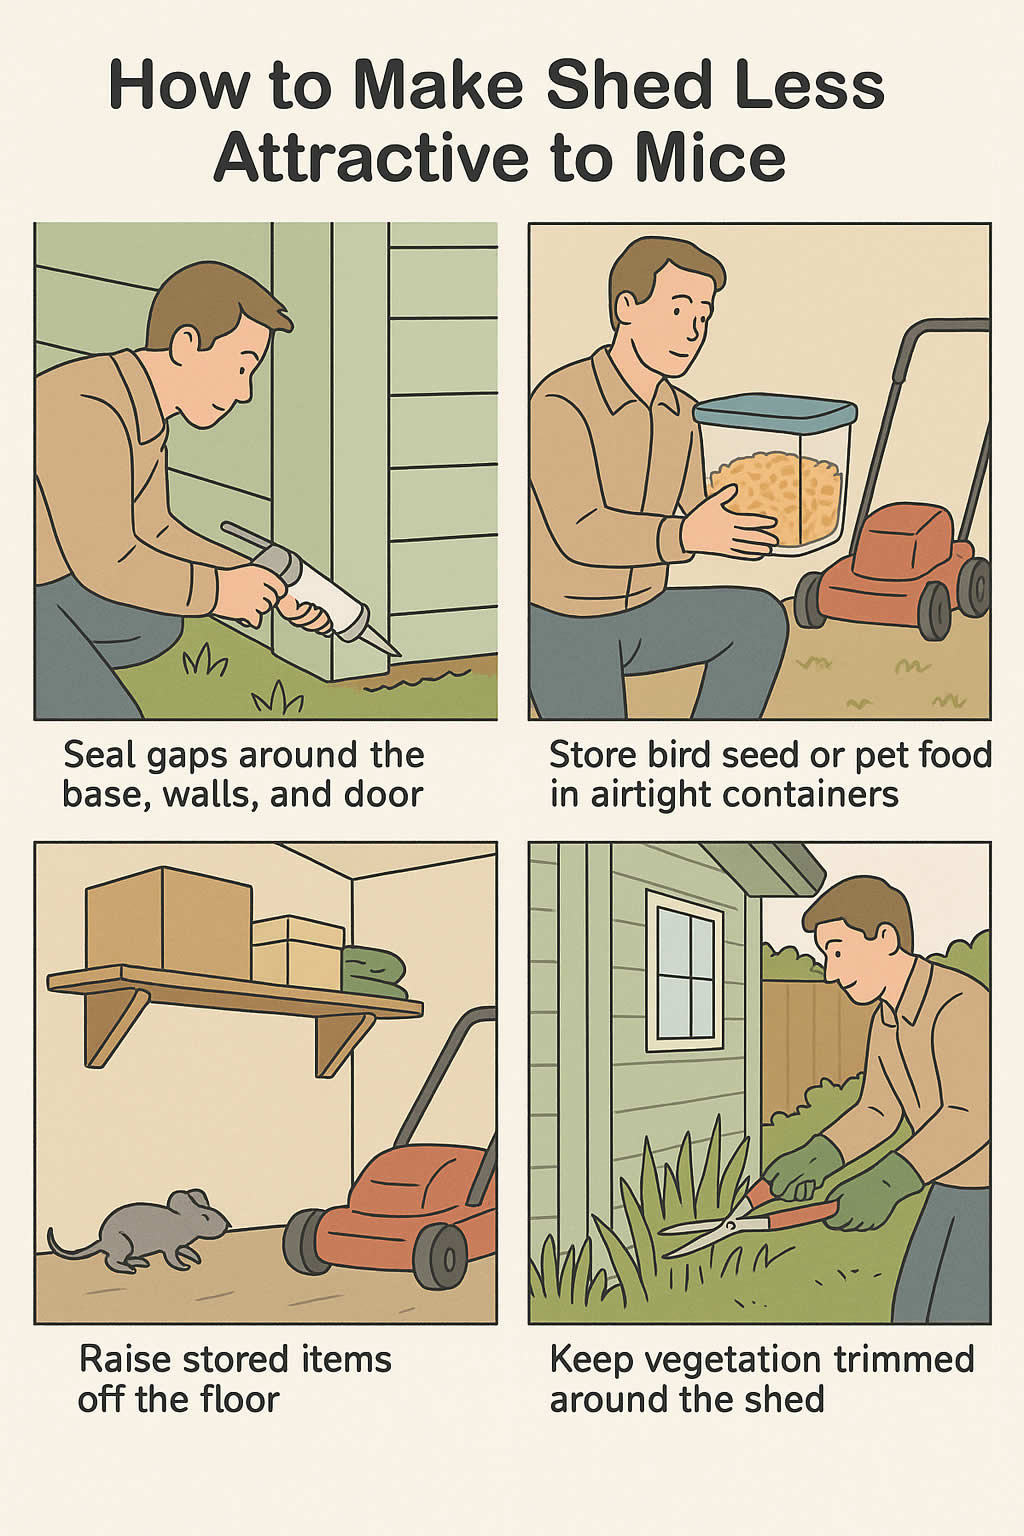
Fix leaks; ventilate steamy rooms and voids
Dry spaces don’t support fast development. Insulate cold pipes and boost extraction where steam lingers.
Trim vegetation; lift debris against foundations
Bridges to windowsills and stacked materials invite nesting right at your boundary. Break those links and outdoor pressure falls. If you’re dealing with perimeter build‑ups, this step‑by‑step guide helps you clear ants from the garden.
Checklist — Use During Inspection & Treatment
A quick tick‑list keeps you organised and stops important details from slipping.
Colony type noted (single vs. multiple queens) ✔︎
Two trail checkpoints marked and timed ✔︎
Bait type chosen (sweet/protein) and placement logged ✔︎
Moisture sources identified and scheduled for repair ✔︎
Follow‑up dates set; traffic trend recorded ✔︎
Quick Reference (On‑Site)
Use these rules of thumb while you work. They’re simple, practical, and easy to remember.
Warm + humid = faster hatch; cool + dry = slower
Bait during larval demand and early worker emergence
Seal only after traffic collapses for 48–72 hours
For seasonal behaviour around winged ants, check where flying ants come from so you can separate a swarm event from a routine brood wave. If you’re refining placements indoors, colour and contrast can change where scouts pause—these notes on colours that attract ants offer useful context.
Final Thoughts
You don’t need a microscope or a lab. You need a plan, a notebook, and a steady routine. Keep spaces cooler and drier, feed the colony a slow answer it willingly carries home, and seal once the trails fade. When you work with the life cycle, you control the pace—and the hatch stops driving your day.